A vertical V grooving machine is a machine tool that is used to cut V-shaped grooves in sheet metal. The machine is typically equipped with a cutting head that has two cutting edges that are angled to form a V-shape. The cutting head is mounted on a vertical column, and the workpiece is held in place on a table. The cutting head is then moved down to cut the V-shaped groove in the workpiece.
Vertical V grooving machines are used in a variety of industries, including the automotive, aerospace, and construction industries. Due to the demand for the industry, the Vertical V grooving machine has a huge size, which makes it impossible to transport the whole machine during the logistics transportation process, and can only be reassembled at the destination. When you receive a brand new KRRASS Vertical V grooving machine, you may need to assemble it before it can be used normally. In the next article, we will explain to you in detail how to install the KRRASS Vertical V grooving machine correctly:
Check
Before installing and using the vertical V grooving machine, we must check whether the machine has any damage during transportation, and read the machine manual carefully to confirm that all parts are complete and in good condition.
Installation
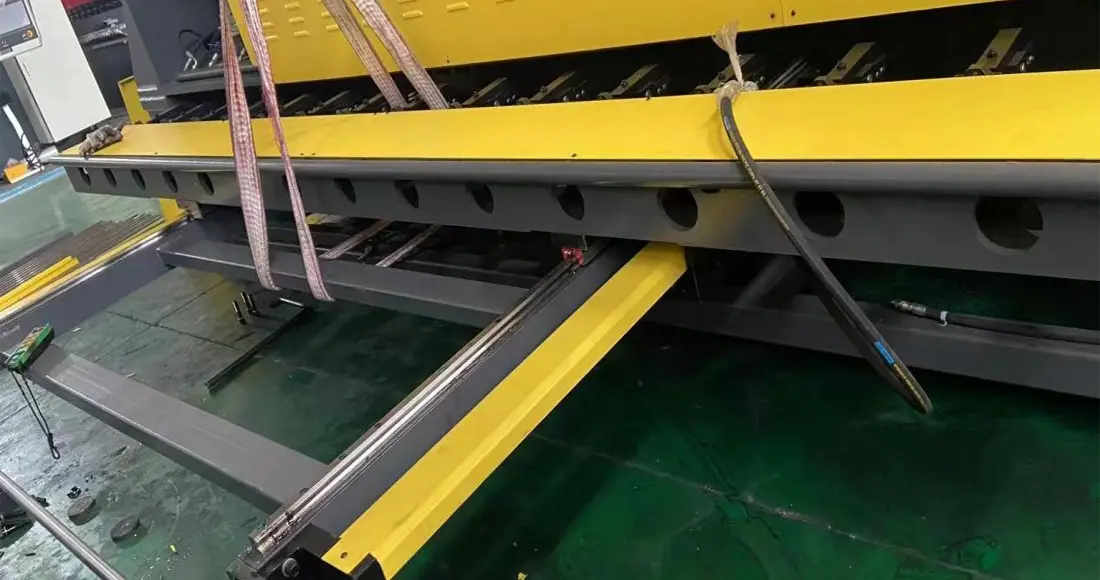
1. Use flexible slings to lift the rear support frame and install it, as shown in Figure 1:

2. After calibrating the position, tighten the fixing screws on the left and right sides of the rear support frame, as shown in Figure 2:

3. Place the spirit level on the left, middle, and right positions of the workbench, and check and adjust the front, rear, left, and right levels of the fuselage, as shown in Figure 3:

4. After installing the supporting legs of the supporting frame, use tools to lock the fixing screws, as shown in Figure 4:

5. Install the synchronous wheel of the motor, and use tools to lock the buckle screws, as shown in Figure 5:

6. Install the motor timing belt, adjust the motor bracket to a proper position, and then tighten the fixing screws of the bracket, as shown in Figure 6:

7. Use tools to lock the screws on the motor synchronous axle bracket, as shown in Figure 7:

8. Connect the cable line of the supporting motor, as shown in Figure 8:

9. Use tools to lock the bracket screws on the left and right sides respectively, as shown in Figures 9 and 10:


10. Install the hydraulic hose, as shown in Figure 11:

11. Use a tool to lock the link buckle of the hydraulic oil pipe, as shown in Figure 12:

12. Install the origin switch plug, as shown in Figure 13:

13. Use tools to tighten the screws of the feeding tube in turn, as shown in Figure 14:

Additional Tips
Here are some additional tips for assembling a vertical V grooving machine:
- Read the manufacturer's instructions carefully before starting assembly.
- Use the correct tools for the job.
- Be careful not to overtighten any bolts or screws.
- If you are not comfortable assembling the machine yourself, you can hire a qualified technician to do it for you.
The above are the detailed steps on how to install vertical V grooving machine, I hope it can help you.


its very useful, I will use it for my machine. thx