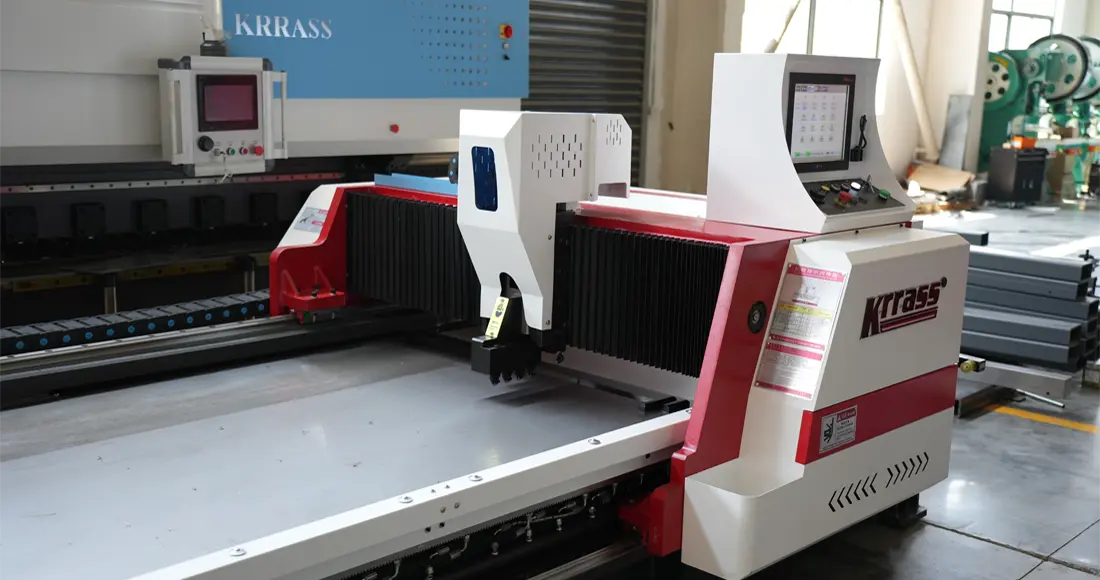
The horizontal V-groove machine is a machine used to make V-grooves on metal sheet metal materials of a certain thickness. It consists of a head with a V-shaped cutter that moves horizontally across the material. The head can be moved to the desired depth, and the cutter can be adjusted to the desired width.
When you buy a brand new horizontal V groover machine, you often need to install and debug it before you can use it normally. If your operation method is wrong, it is likely to cause damage to the machine itself, resulting in the machine not being able to work normally. In this article, we will teach you how to correctly install and debug a horizontal V groove machine produced by KRRASS.
Securing the horizontal V groover machine
Placing and securing a new horizontal V groover machine is an important step in ensuring the safety and effective use of the equipment. Here is a simple procedure to guide first-time users on how to properly position and secure the V groove machine:
1. Select a suitable location: Choose a stable and stationary location to place the V groove machine. Ensure that the area has enough space for you to freely operate and maintain the equipment. Additionally, ensure proper ventilation in the surrounding environment to prevent overheating and machine malfunctions.
2. Prepare a firm and stable ground: Ensure that the surface where the equipment will be placed is hard, flat, and stable. Prioritize concrete floors or metal surfaces as they provide better stability. If the ground is not sufficiently sturdy, consider adding a thick metal plate or wooden board as a foundation.
3. Use shims and leveling bolts: Before placing the V groove machine, use shims and leveling bolts to ensure the equipment is stable and level. This will help balance the machine and prevent issues caused by uneven ground. Gradually adjust the bolts according to the installation guide of the equipment until the machine is stable and balanced. Each V groove machine manufactured by KRRASS is equipped with leveling bolts at the four corners of the machine frame.


About the horizontal correction of the fuselage
If you want to correct the horizontal position of the press brake, you need to use a spirit level or a spirit level. The specific calibration process is as follows:
1. Place the spirit level horizontally in front of the work surface of the horizontal V groove machine, and perform left and right level correction;
2. Place the spirit level longitudinally in the middle of both sides of the horizontal V groove machine workbench, and correct the front and rear horizontal heights on the left and right sides of the horizontal V groove machine.

4. Secure the V groove machine: After placing the V groove machine in the appropriate position and leveling it, it needs to be secured to the ground to prevent any movement or shaking during operation. Use suitable bolts or anchoring devices to secure the base or feet of the press brake to the ground.
5. Check for fixation and stability: Once the V groove machine is secured to the ground, carefully inspect the stability of the equipment. Ensure that all fixation points are tight and secure. Try to move the equipment by gently pushing or shaking it to ensure it doesn't have any noticeable movement or shaking.
6. Loosen the transport fixing screws: In order to avoid damage to the horizontal V groove machine during transport, the sliding parts of the machine are reinforced when leaving the factory. After we have secured the machine, we need to use the appropriate size wrench tool to loosen the screws under the reinforcement baffle and remove the sliding limit.


Please note that this is just a basic procedural guide, and the specific installation process may vary depending on the model of the V groove machine. To ensure proper installation and operation, always refer to the installation guide and user manual of the equipment, and consult technical service personnel if needed.
Connect pipes and wires
Connecting the power supply and air pressure pipe for the newly purchased horizontal V groove machine is an important step to ensure its normal operation and use. Here are the steps on how to properly connect the horizontal V groove machine electrical power source to the pneumatic pipe:
1. Confirm power requirements: Before connecting the power supply, first confirm the power requirements of the hydraulic press brake. Refer to the press brake's specifications, user manual, or information provided by service personnel to understand the required voltage, phase, and frequency for its operation.
2. Prepare the power cord: Based on the power requirements of the hydraulic press brake, select a suitable power cord. Ensure that the rated current and voltage of the power cord align with the equipment's requirements. If necessary, purchase a standard-compliant power cord.
3. Check the power socket: Check if the power socket used for the power connection meets the requirements of the hydraulic press brake. Ensure that the voltage, phase, and frequency of the socket match the equipment's requirements. Additionally, ensure that the socket's grounding is reliable to provide a safe electrical connection.
4. Connect the power cord: Connect the selected power cord to the power socket in the correct sequence. Ensure that the end of the power cord is fully connected to the socket and check that the plug is securely inserted into the socket.

5. Connect the foot switch interface: Insert the connector of the foot switch into the socket on the right rear of the fuselage in the correct direction, and then tighten the fixing nut.

6. Connect the main air intake pipe: When the horizontal V groove machine is working, an additional air compressor is needed to provide high-pressure air to blow away the metal debris generated by the groove. Therefore, we need to connect the air supply pipe of the air compressor with the main intake pipe of the horizontal V groove machine.

7. Connect the air pipe of the manual blow gun: Insert the air pipe interface of the manual blow gun into the interface below the horizontal V groove machine, as shown in the figure:

8. Put in the ball supports: Put all the ball supports into the corresponding holes one by one. After putting them in, when you need to make grooves on larger and thicker metal plates, the metal plates can slide on them To reduce wear and resistance to the fuselage.

Power-on testing and finding reference points
After the horizontal V groove machine's power line and air tube are connected, we need to conduct a power-on test and find a reference point for the device so that the horizontal V groove machine can completely enter the standby state and be ready to use at any time.
Power test
Step 1: You need to turn on the main power switch on the electric cabinet at the right rear of the fuselage, as shown in the picture:


Step 2: Rotate the emergency stop switch on the main control panel to make it return to its original position, then turn the main control key to open the main control panel;


Find the reference point
Step 3: Wait for the system to start and enter the operation interface, click the "Test" button above to enter the test page, and then click the "Pump" button below to start the oil pump;

Step 4: Long press the "Home" button, the device will automatically enter the state of finding the reference point, and wait for the device to complete the work of finding the reference point.

When the work of finding the reference point is completed, the equipment will officially enter the standby state. At this point, we can officially use this horizontal V groove machine to perform groove processing on metal sheets.
The above is the installation tutorial of the horizontal V groove machine, I hope it can be helpful to you. If you want to know more about the operation method of horizontal V groove machine, you can refer to the following:


