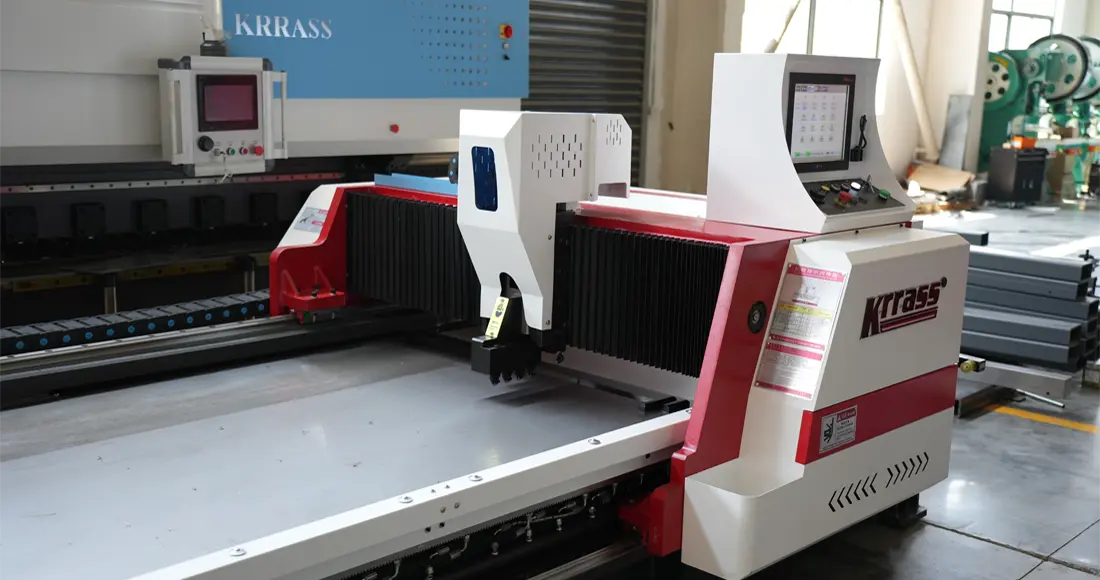
The horizontal V-groove machine is a machine used to make V-grooves on metal sheet metal materials of a certain thickness. It consists of a head with a V-shaped cutter that moves horizontally across the material. The head can be moved to the desired depth, and the cutter can be adjusted to the desired width.
When you buy a brand new horizontal V-образный канавочный станок, you often need to install and debug it before you can use it normally. If your operation method is wrong, it is likely to cause damage to the machine itself, resulting in the machine not being able to work normally. In this article, we will teach you how to correctly install and debug a horizontal V groove machine produced by KRRASS.
Securing the horizontal V groover machine
Установка и закрепление нового horizontal V groover machine is an important step in ensuring the safety and effective use of the equipment. Here is a simple procedure to guide first-time users on how to properly position and secure the V groove machine:
1. Select a suitable location: Choose a stable and stationary location to place the V groove machine. Ensure that the area has enough space for you to freely operate and maintain the equipment. Additionally, ensure proper ventilation in the surrounding environment to prevent overheating and machine malfunctions.
2. Prepare a firm and stable ground: Убедитесь, что поверхность, на которой будет установлено оборудование, твердая, ровная и устойчивая. Отдавайте предпочтение бетонным полам или металлическим поверхностям, поскольку они обеспечивают лучшую устойчивость. Если грунт недостаточно прочный, рассмотрите возможность добавления толстой металлической плиты или деревянной доски в качестве основания.
3. Use shims and leveling bolts: Before placing the V groove machine, use shims and leveling bolts to ensure the equipment is stable and level. This will help balance the machine and prevent issues caused by uneven ground. Gradually adjust the bolts according to the installation guide of the equipment until the machine is stable and balanced. Each V groove machine manufactured by KRRASS is equipped with leveling bolts at the four corners of the machine frame.


О горизонтальной коррекции фюзеляжа
Для корректировки горизонтального положения листогибочного пресса необходимо использовать строительный уровень. Процесс калибровки выглядит следующим образом:
1. Place the spirit level horizontally in front of the work surface of the horizontal V groove machine, and perform left and right level correction;
2. Place the spirit level longitudinally in the middle of both sides of the horizontal V groove machine workbench, and correct the front and rear horizontal heights on the left and right sides of the horizontal V groove machine.

4. Secure the V groove machine: After placing the V groove machine in the appropriate position and leveling it, it needs to be secured to the ground to prevent any movement or shaking during operation. Use suitable bolts or anchoring devices to secure the base or feet of the press brake to the ground.
5. Check for fixation and stability: После того как листогибочный пресс будет закреплен на земле, тщательно проверьте устойчивость оборудования. Убедитесь, что все точки крепления надежно затянуты. Попробуйте переместить оборудование, слегка толкая или встряхивая его, чтобы убедиться в отсутствии заметных движений или тряски.
6. Loosen the transport fixing screws: In order to avoid damage to the horizontal V groove machine during transport, the sliding parts of the machine are reinforced when leaving the factory. After we have secured the machine, we need to use the appropriate size wrench tool to loosen the screws under the reinforcement baffle and remove the sliding limit.


Обратите внимание, что это лишь базовое руководство по процедуре, и конкретный процесс установки может отличаться в зависимости от модели листогибочного пресса. Для обеспечения правильной установки и эксплуатации всегда обращайтесь к руководству по установке и руководству пользователя оборудования и при необходимости консультируйтесь с персоналом технической службы.
Connect pipes and wires
Connecting the power supply and air pressure pipe for the newly purchased horizontal V groove machine is an important step to ensure its normal operation and use. Here are the steps on how to properly connect the horizontal V groove machine electrical power source to the pneumatic pipe:
1. Подтвердите требования к электропитанию: Перед подключением источника питания сначала убедитесь в требованиях к питанию гидравлического листогибочного пресса. Для определения необходимого напряжения, фазы и частоты для его работы обратитесь к техническим характеристикам пресса, руководству пользователя или информации, предоставленной обслуживающим персоналом.
2. Подготовьте шнур питания: Исходя из требований к электропитанию гидравлического листогибочного пресса, выберите подходящий сетевой кабель. Убедитесь, что номинальный ток и напряжение сетевого кабеля соответствуют требованиям оборудования. При необходимости приобретите сетевой кабель, соответствующий стандартам.
3. Проверьте розетку: Проверьте, соответствует ли используемая для подключения питания розетка требованиям гидравлического листогибочного пресса. Убедитесь, что напряжение, фаза и частота розетки соответствуют требованиям оборудования. Кроме того, убедитесь в надежном заземлении розетки для обеспечения безопасного электрического соединения.
4. Подключите шнур питания: Подключите выбранный сетевой шнур к розетке в правильной последовательности. Убедитесь, что конец сетевого шнура полностью вставлен в розетку, и проверьте, надежно ли вставлена вилка в розетку.

5. Connect the foot switch interface: Insert the connector of the foot switch into the socket on the right rear of the fuselage in the correct direction, and then tighten the fixing nut.

6. Connect the main air intake pipe: When the horizontal V groove machine is working, an additional air compressor is needed to provide high-pressure air to blow away the metal debris generated by the groove. Therefore, we need to connect the air supply pipe of the air compressor with the main intake pipe of the horizontal V groove machine.

7. Connect the air pipe of the manual blow gun: Insert the air pipe interface of the manual blow gun into the interface below the horizontal V groove machine, as shown in the figure:

8. Put in the ball supports: Put all the ball supports into the corresponding holes one by one. After putting them in, when you need to make grooves on larger and thicker metal plates, the metal plates can slide on them To reduce wear and resistance to the fuselage.

Проверка включения питания и поиск контрольных точек
После подключения силового кабеля и воздуховода к горизонтальному V-образному пазу необходимо провести проверку включения питания и определить контрольную точку для устройства, чтобы горизонтальный V-образный паз полностью перешел в режим ожидания и был готов к использованию в любое время.
тест мощности
Шаг 1: Необходимо включить главный выключатель питания на электрошкафу в правой задней части фюзеляжа, как показано на рисунке:


Шаг 2: Поверните кнопку аварийной остановки на главной панели управления, чтобы вернуть ее в исходное положение, затем поверните ключ главного управления, чтобы открыть главную панель управления;


Найдите точку отсчета.
Шаг 3: Wait for the system to start and enter the operation interface, click the "Тест" button above to enter the test page, and then click the "Насос" button below to start the oil pump;

Шаг 4: При длительном нажатии кнопки “Домой” устройство автоматически перейдет в режим поиска опорной точки и будет ожидать завершения процесса поиска опорной точки.

После завершения работ по определению опорной точки оборудование официально перейдет в режим ожидания. С этого момента мы можем официально использовать это оборудование. горизонтальный станок для V-образных канавок Выполнять обработку канавок на металлических листах.
The above is the installation tutorial of the horizontal V groove machine, I hope it can be helpful to you. If you want to know more about the operation method of horizontal V groove machine, you can refer to the following:


