Na indústria, um processo horizontal Máquina de ranhurar em V Pode ser usada para criar ranhuras em V em chapas metálicas para a fabricação de peças automotivas, eletrodomésticos e outros produtos. Em um artigo anterior, descrevemos o processo de operação específico para a correta instalação de uma máquina de ranhura em V horizontal. Hoje, ensinaremos como operar e usar corretamente a máquina de ranhura em V horizontal produzida pela KRRASS Machine Tool nos artigos a seguir.
Teste de inicialização e localização de pontos de referência
Após conectar a linha de alimentação e o tubo de ar da máquina de ranhura em V horizontal, é necessário realizar um teste de inicialização e encontrar um ponto de referência para o dispositivo, de modo que a máquina entre completamente em modo de espera e esteja pronta para uso a qualquer momento.
Teste de potência
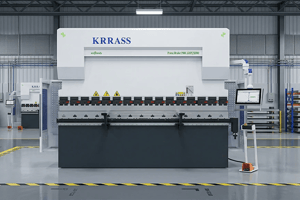
Passo 1: Você precisa ligar o interruptor principal de energia no painel elétrico localizado na parte traseira direita da fuselagem, conforme mostrado na imagem:


Etapa 2: Gire o interruptor de parada de emergência no painel de controle principal para que ele retorne à sua posição original e, em seguida, gire a chave de controle principal para abrir o painel de controle principal;


Encontre o ponto de referência
Etapa 3: Wait for the system to start and enter the operation interface, click the "Teste" button above to enter the test page, and then click the "Bombear" button below to start the oil pump;

Passo 4: Pressione e segure o botão “Home” e o dispositivo entrará automaticamente no modo de busca do ponto de referência. Aguarde até que o dispositivo conclua a busca do ponto de referência.

Quando a tarefa de encontrar o ponto de referência estiver concluída, o equipamento entrará oficialmente em estado de espera. Nesse ponto, poderemos utilizá-lo oficialmente. máquina de ranhura em V horizontal Realizar usinagem de ranhuras em chapas metálicas.
Medição e Programação
Ao utilizar a máquina de ranhurar em V horizontal para ranhurar chapas metálicas, é necessário primeiro medir a chapa e, em seguida, usar o painel de controle principal da máquina para programá-la de acordo com as dimensões e espessura da chapa, configurando então o processo de ranhura. Os passos específicos da operação são os seguintes:
Medição de chapa metálica
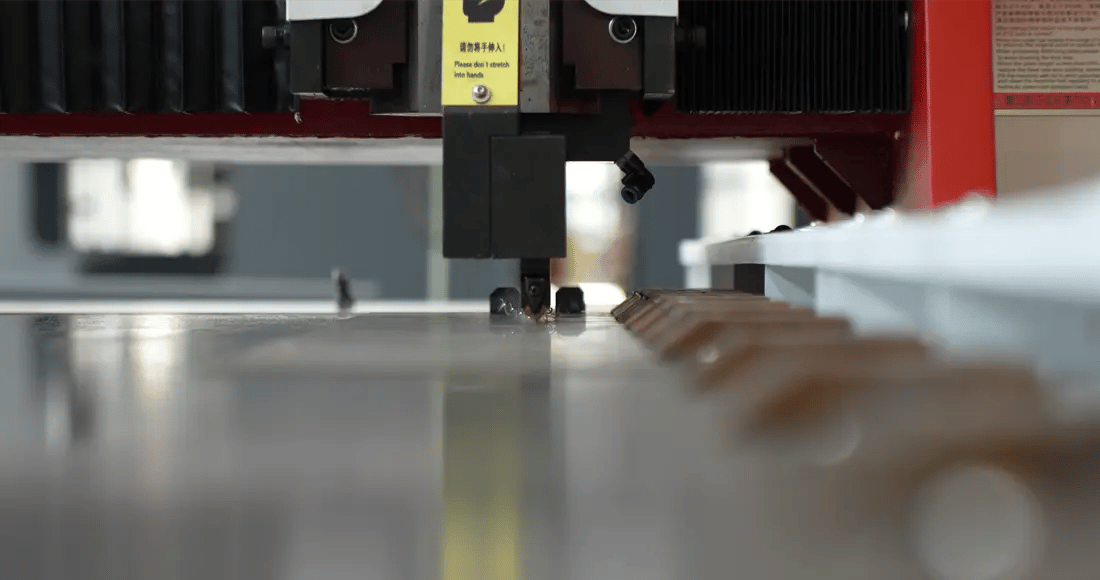
Precisamos usar uma fita métrica e um paquímetro para medir o comprimento e a espessura da chapa metálica que precisa ser ranhurada, conforme mostrado na figura:


Etapas de programação de slots
Etapa 2: Coloque a placa de metal na bancada da máquina de ranhura em V horizontal, com um dos lados da placa próximo à borda da bancada, conforme mostrado na figura:

Etapa 3: Click the "Grampo" button under the central control panel, and the hydraulic clamp will clamp the metal plate;


Passo 4: Click the "Dados”Botão “ ” na parte superior da tela para acessar a página de programação, conforme mostrado na figura:

Etapa 5: Click the boxes on the right of the "Comprimento" and "Espesso" options in turn to set the length and thickness of the sheet metal, as shown in the figure:


Etapa 6: In the "Dados do programa" area on the right, click the "Tom" and "Profundidade”As opções da etapa correspondente, por sua vez, definem o intervalo e a profundidade da ranhura, conforme mostrado na figura:


Observação: O intervalo de ranhura aqui é o intervalo relativo entre cada etapa de trabalho.
Etapa 7: Click the "Auto”Clique no botão “” na parte superior da tela para acessar a página de trabalho automático, conforme mostrado na figura:

Etapa 8: Press the green "Começar”Ao pressionar o botão “A” no painel de controle principal, a máquina de ranhura em V horizontal iniciará a operação automática de ranhura até que todas as etapas de trabalho sejam concluídas.

O processo de operação detalhado está descrito acima. máquina de ranhura em V horizontal. Ao finalizar a operação de ranhuramento, lembre-se de usar a ferramenta de medição para verificar se o intervalo entre as placas está de acordo com o padrão.


Bem, espero que este artigo tenha ajudado você a entender o funcionamento e o uso da máquina de ranhura em V horizontal. Se você acabou de receber sua máquina horizontal... Máquina de ranhurar em V E se você não sabe como instalar, pode ler nosso artigo: