Dans le secteur manufacturier, une horizontale machine à rainurer en V Cette machine permet de réaliser des rainures en V dans des tôles métalliques destinées à la fabrication de pièces automobiles, d'appareils électroménagers et d'autres produits. Dans un article précédent, nous avons décrit la procédure d'installation d'une fraiseuse à rainurer en V horizontale. Aujourd'hui, nous vous expliquerons comment utiliser correctement la fraiseuse à rainurer en V horizontale de KRRASS Machine Tool dans les articles suivants.
Test de mise sous tension et recherche de points de référence
Une fois le câble d'alimentation et le tuyau d'air de la machine à rainurer en V horizontale connectés, il est nécessaire d'effectuer un test de mise sous tension et de trouver un point de référence pour l'appareil afin que la machine à rainurer en V horizontale puisse entrer complètement en mode veille et être prête à l'emploi à tout moment.
test de puissance
Étape 1 : Vous devez allumer l'interrupteur principal situé sur l'armoire électrique à l'arrière droit du fuselage, comme indiqué sur l'image :


Étape 2 : Tournez l'interrupteur d'arrêt d'urgence du panneau de commande principal pour le faire revenir à sa position d'origine, puis tournez la clé de commande principale pour ouvrir le panneau de commande principal ;


Trouver le point de référence
Étape 3 : Attendez que le système démarre et accède à l'interface d'exploitation, puis cliquez sur “Test"" bouton ci-dessus pour accéder à la page de test, puis cliquez sur le ""Pompe"" bouton ci-dessous pour démarrer la pompe à huile ;

Étape 4 : Appuyez longuement sur le bouton “ Accueil ”, l’appareil passera automatiquement en mode de recherche du point de référence et attendra que la recherche du point de référence soit terminée.

Une fois la recherche du point de référence terminée, l'équipement passera officiellement en mode veille. À ce moment-là, nous pourrons l'utiliser. machine à rainurer en V horizontale pour réaliser le rainurage des tôles métalliques.
Mesure et programmation
Lorsqu'on utilise une fraiseuse à rainurer en V horizontale pour rainurer une plaque métallique, il faut d'abord mesurer cette dernière, puis programmer la machine à l'aide du panneau de commande principal en fonction de ses dimensions et de son épaisseur, et enfin paramétrer le processus de rainurage. Les étapes de fonctionnement sont les suivantes :
Mesure de la tôle
Nous devons utiliser un ruban à mesurer et un pied à coulisse pour mesurer la longueur et l'épaisseur de la tôle métallique à rainurer, comme indiqué sur la figure :


Étapes de programmation
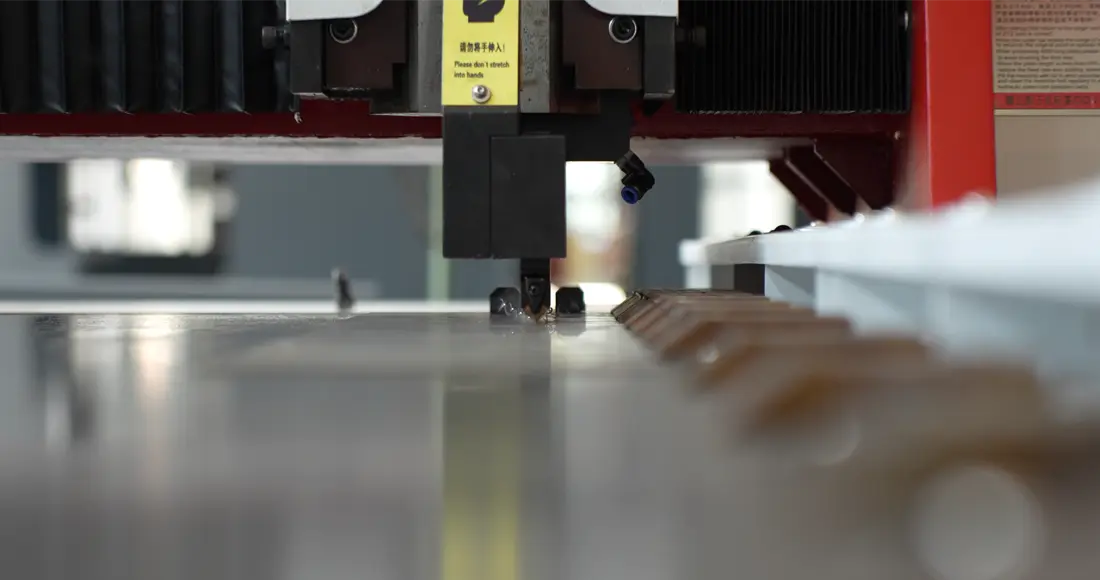
Étape 2 : Placez la plaque métallique sur l'établi de la machine à rainurer en V horizontale, un côté de la plaque métallique près du bord de l'établi, comme indiqué sur la figure :

Étape 3 : Cliquez sur le ""Agrafe"" bouton sous le panneau de commande central, et la pince hydraulique serrera la plaque métallique ;


Étape 4 : Cliquez sur le ""Données”bouton « » en haut de l’écran pour accéder à la page de programmation, comme indiqué sur la figure :

Étape 5 : Cliquez sur les cases à droite du "Longueur"" et ""Épais” options permettant de régler la longueur et l'épaisseur de la tôle, comme indiqué sur la figure :


Étape 6 : Dans le ""Données du programme"" zone à droite, cliquez sur le ""Pas"" et ""Profondeur” options de l’étape correspondante pour définir tour à tour l’intervalle de rainurage et la profondeur de rainurage de l’étape, comme indiqué sur la figure :


Note: L'intervalle d'espacement correspond ici à l'intervalle relatif entre chaque étape de travail.
Étape 7 : Cliquez sur le ""Auto”bouton « » en haut de l’écran pour accéder à la page de travail automatique, comme indiqué sur la figure :

Étape 8 : Appuyez sur le bouton vert ""Commencer”En appuyant sur le bouton « » du panneau de commande principal, la machine à rainurer en V horizontale démarrera l’opération de rainurage automatique jusqu’à ce que toutes les étapes de travail soient terminées.

Ce qui précède décrit en détail le processus de fonctionnement de machine à rainurer en V horizontale. Une fois l'opération de rainurage terminée, n'oubliez pas d'utiliser l'outil de mesure pour vérifier si l'intervalle entre les plaques est conforme aux normes.


J’espère que cet article vous aura permis de comprendre le fonctionnement et l’utilisation d’une fraiseuse horizontale à rainurer en V. Si vous venez de recevoir votre fraiseuse horizontale… machine à rainurer en V Si vous ne savez pas comment l'installer, vous pouvez consulter notre article :


