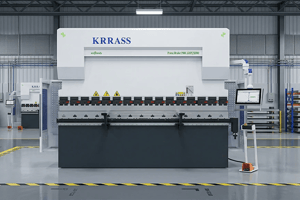
In manufacturing, a horizontal Máquina ranuradora en V can be used to create V-grooves in metal sheets for use in making car parts, appliances, and other products. In a previous article, we described the specific operation process of how to correctly install a horizontal V groove machine. Today, we will teach you how to correctly operate and use the horizontal V groove machine produced by KRRASS Machine Tool through the following articles.
Prueba de encendido y búsqueda de puntos de referencia
Una vez conectados el cable de alimentación y el tubo de aire de la máquina de ranurado en V horizontal, debemos realizar una prueba de encendido y encontrar un punto de referencia para el dispositivo para que la máquina de ranurado en V horizontal pueda ingresar completamente al estado de espera y estar lista para usarse en cualquier momento.
Prueba de potencia
Paso 1: Debe encender el interruptor de alimentación principal en el gabinete eléctrico ubicado en la parte trasera derecha del fuselaje, como se muestra en la imagen:


Paso 2: Gire el interruptor de parada de emergencia en el panel de control principal para que vuelva a su posición original, luego gire la llave de control principal para abrir el panel de control principal;


Encuentra el punto de referencia
Paso 3: Wait for the system to start and enter the operation interface, click the "Prueba" button above to enter the test page, and then click the "Bomba" button below to start the oil pump;

Paso 4: Mantenga presionado el botón "Inicio", el dispositivo ingresará automáticamente al estado de búsqueda del punto de referencia y esperará a que el dispositivo complete el trabajo de búsqueda del punto de referencia.

Una vez finalizada la búsqueda del punto de referencia, el equipo entrará oficialmente en modo de espera. En este punto, podremos utilizarlo oficialmente. máquina de ranura en V horizontal para realizar el procesamiento de ranuras en láminas metálicas.
Measurement and Programming
When we use the horizontal V groove machine to groove the metal plate, we need to measure the metal plate first, and then use the main control panel of the horizontal V groove machine to program according to the size and thickness of the metal plate, and then set the Grooved cloth process. The specific operation steps are as follows:
Measuring sheet metal
We need to use a tape measure and a vernier caliper to measure the length and thickness of the metal sheet that needs to be grooved, as shown in the figure:


Programming slotting steps
Paso 2: Place the metal plate on the workbench of the horizontal V groove machine, with one side of the metal plate close to the edge of the workbench, as shown in the figure:

Paso 3: Click the "Clip" button under the central control panel, and the hydraulic clamp will clamp the metal plate;


Paso 4: Click the "Data" button at the top of the screen to enter the programming page, as shown in the figure:

Paso 5: Click the boxes on the right of the "Longitud" and "Grueso" options in turn to set the length and thickness of the sheet metal, as shown in the figure:


Paso 6: In the "Program Data" area on the right, click the "Pitch" and "Profundidad" options of the corresponding step in turn to set the slotting interval and slotting depth of the step, as shown in the figure:


Nota: The slotting interval here is the relative interval between each working step.
Paso 7: Click the "Auto" button at the top of the screen to enter the automatic work page, as shown in the figure:

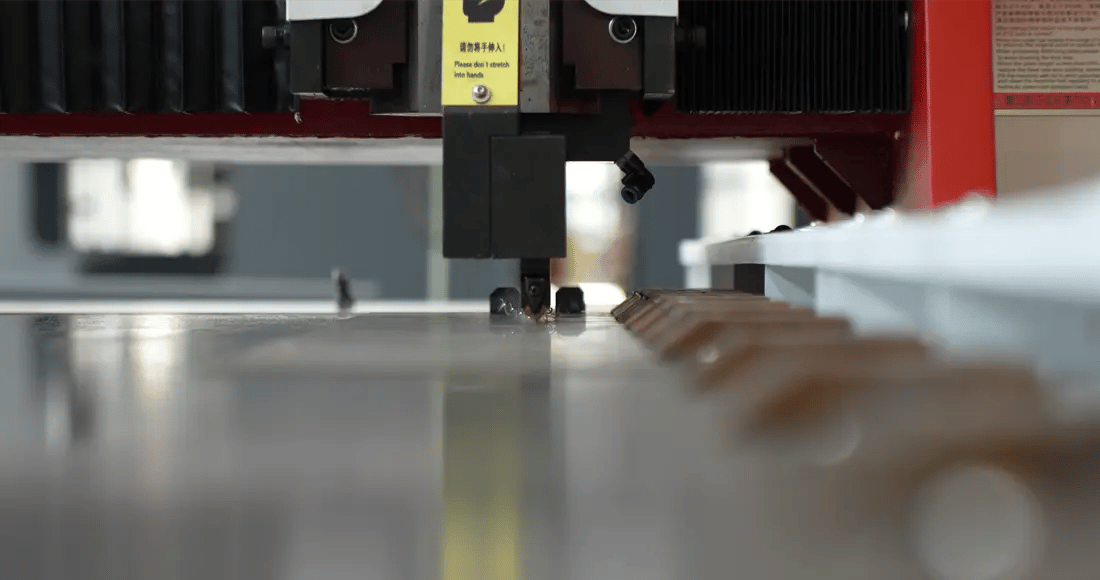
Paso 8: Press the green "Comenzar" button on the main control panel, the horizontal V groove machine will start the automatic groove operation until all the working steps are completed.

The above is the detailed operation process of the máquina de ranura en V horizontal. When we finish the slotting operation, remember to use the measuring tool to measure whether the interval between the plates is up to standard.


Well, I hope this article can let you understand the operation and use of horizontal V groove machine. If you just received your horizontal Máquina ranuradora en V and don’t know how to install it, you can read our article: