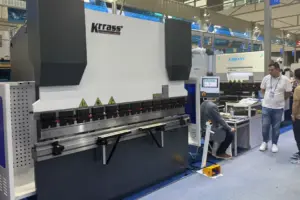
In manufacturing, a horizontal آلة حفر على شكل حرف V can be used to create V-grooves in metal sheets for use in making car parts, appliances, and other products. In a previous article, we described the specific operation process of how to correctly install a horizontal V groove machine. Today, we will teach you how to correctly operate and use the horizontal V groove machine produced by KRRASS Machine Tool through the following articles.
اختبار التشغيل وإيجاد نقاط مرجعية
بعد توصيل خط الطاقة وأنبوب الهواء الخاص بآلة الأخدود الأفقي على شكل حرف V، نحتاج إلى إجراء اختبار تشغيل الطاقة وإيجاد نقطة مرجعية للجهاز حتى تتمكن آلة الأخدود الأفقي على شكل حرف V من الدخول في وضع الاستعداد بالكامل وتكون جاهزة للاستخدام في أي وقت.
اختبار الطاقة
الخطوة 1: يجب عليك تشغيل مفتاح الطاقة الرئيسي الموجود على لوحة التحكم الكهربائية في الجزء الخلفي الأيمن من جسم الطائرة، كما هو موضح في الصورة:


الخطوة الثانية: قم بتدوير مفتاح إيقاف الطوارئ الموجود على لوحة التحكم الرئيسية لإعادته إلى وضعه الأصلي، ثم قم بتدوير مفتاح التحكم الرئيسي لفتح لوحة التحكم الرئيسية؛;


حدد نقطة المرجع
الخطوة 3: انتظر حتى يبدأ النظام ويدخل إلى واجهة التشغيل، ثم انقر فوق "“امتحان”انقر على زر " " أعلاه للدخول إلى صفحة الاختبار، ثم انقر على "“مضخة”اضغط على الزر أدناه لتشغيل مضخة الزيت؛;

الخطوة الرابعة: بالضغط المطول على زر "الرئيسية"، سيدخل الجهاز تلقائيًا في حالة البحث عن نقطة مرجعية، وانتظر حتى يكمل الجهاز مهمة البحث عن نقطة مرجعية.

عند اكتمال عملية تحديد نقطة المرجع، سيدخل الجهاز رسميًا في وضع الاستعداد. عند هذه النقطة، يمكننا استخدامه رسميًا. آلة حفر أفقية على شكل حرف V لإجراء عملية تشكيل الأخاديد على الصفائح المعدنية.
Measurement and Programming
When we use the horizontal V groove machine to groove the metal plate, we need to measure the metal plate first, and then use the main control panel of the horizontal V groove machine to program according to the size and thickness of the metal plate, and then set the Grooved cloth process. The specific operation steps are as follows:
Measuring sheet metal
We need to use a tape measure and a vernier caliper to measure the length and thickness of the metal sheet that needs to be grooved, as shown in the figure:


Programming slotting steps
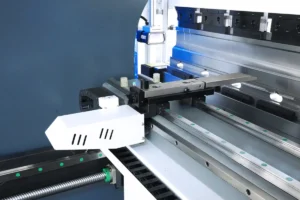
الخطوة الثانية: Place the metal plate on the workbench of the horizontal V groove machine, with one side of the metal plate close to the edge of the workbench, as shown in the figure:

الخطوة 3: Click the “Clip” button under the central control panel, and the hydraulic clamp will clamp the metal plate;


الخطوة الرابعة: Click the “Data” button at the top of the screen to enter the programming page, as shown in the figure:

Step 5: Click the boxes on the right of the “طول” and “سميك” options in turn to set the length and thickness of the sheet metal, as shown in the figure:


Step 6: In the “Program Data” area on the right, click the “Pitch” and “عمق” options of the corresponding step in turn to set the slotting interval and slotting depth of the step, as shown in the figure:


ملحوظة: The slotting interval here is the relative interval between each working step.
Step 7: Click the “Auto” button at the top of the screen to enter the automatic work page, as shown in the figure:

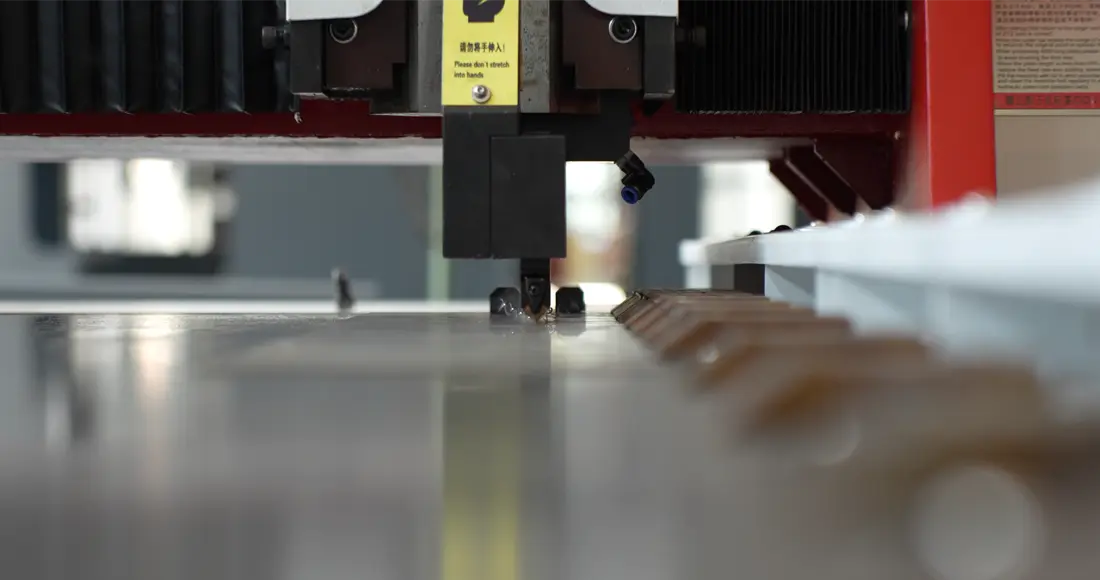
Step 8: Press the green “Start” button on the main control panel, the horizontal V groove machine will start the automatic groove operation until all the working steps are completed.

The above is the detailed operation process of the آلة حفر أفقية على شكل حرف V. When we finish the slotting operation, remember to use the measuring tool to measure whether the interval between the plates is up to standard.


Well, I hope this article can let you understand the operation and use of horizontal V groove machine. If you just received your horizontal آلة حفر على شكل حرف V and don’t know how to install it, you can read our article: